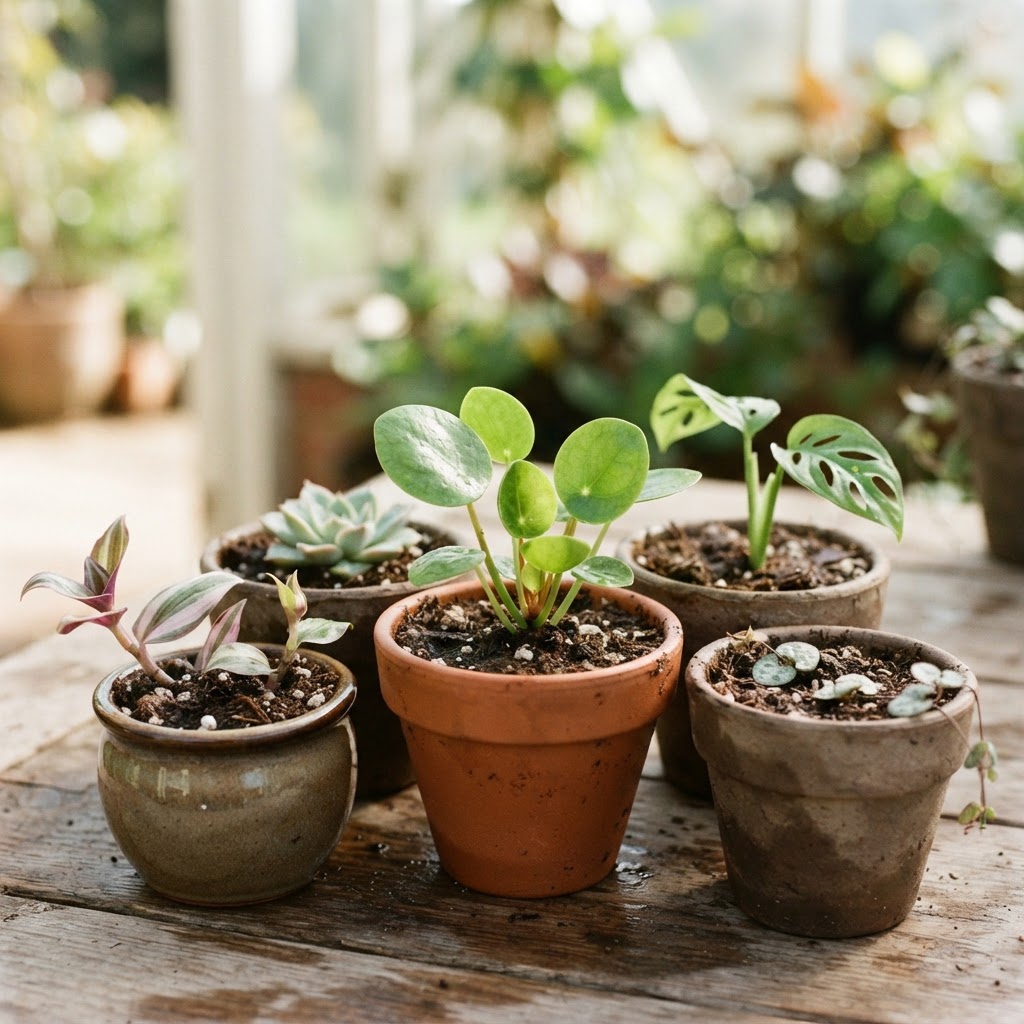
Skip the water phase entirely. Learn how to root cuttings directly in soil for stronger plants and no transplant shock.
When to Choose Soil Propagation
Soil propagation skips the water-rooting phase entirely. Cuttings go directly into potting mix, where they develop roots adapted to soil from the start. This eliminates transplant shock and often produces stronger plants.
Soil propagation is ideal for:
- Plants that don't root well in water (succulents, snake plants)
- Cuttings that rot easily in water
- When you want to skip the transition step
- Growers who prefer a more hands-off approach
What You'll Need
- Small pots with drainage holes (3-4 inch nursery pots work well)
- Well-draining potting mix (coco coir + perlite, or a cactus/succulent blend)
- Sharp, sterilized scissors or pruning shears
- Roots Down Propagation Gel
- Roots Down Root Booster
- Clear plastic dome or bag (to create a humidity tent)
- A bright spot with indirect light
Step-by-Step: Rooting Cuttings in Soil
Step 1: Prepare Your Potting Mix
Use a light, well-draining mix. Heavy potting soil retains too much moisture and causes rot. A good blend:
- 2 parts coco coir
- 1 part perlite
- 1 part potting soil
Pre-moisten the mix — it should be damp but not soggy. Fill your pots and set aside.
Step 2: Take Your Cutting
Select a healthy stem with 2-3 nodes. Cut just below a node at a 45-degree angle. Remove the lower leaves, keeping 1-2 at the top.
Step 3: Apply Rooting Gel
Dip the cut end into Roots Down Propagation Gel, coating the bottom inch of stem. The gel provides auxins that stimulate root initiation and nutrients that support early development.
Step 4: Plant the Cutting
Make a small hole in the potting mix with a pencil or chopstick. Insert the cutting so at least one node is below the soil surface. Gently firm the soil around the stem to provide support.
Step 5: Create a Humidity Tent
Cover the pot with a clear plastic bag or dome to create a greenhouse effect. This maintains humidity around the cutting, which is critical since it has no roots to absorb water.
Step 6: Maintain the Cutting
- Place in bright, indirect light — No direct sun, which will overheat the tent
- **Mist inside the tent with plain water every 2-3 days
- Ventilate daily — Remove the bag for 15-30 minutes to prevent mold
- Check soil moisture — Keep the mix consistently damp but never waterlogged
Step 7: Watch for Signs of Rooting
Rooting takes 2-6 weeks depending on the plant. Signs of success:
- New leaf growth from the top
- Resistance when you gently tug the stem
- The cutting stays firm and perky
Best Plants for Soil Propagation
- Snake plants — Leaf sections root well directly in soil
- ZZ plants — Stem cuttings root slowly but reliably in soil
- Succulents — Both leaves and stem cuttings
- Rubber plants (Ficus elastica) — Root best in soil
- Fiddle leaf figs — Prefer soil over water
- Pothos and philodendron — Can root in soil too, though water is more common
Advantages of Soil Propagation
- No transplant shock — Roots develop in soil from day one
- Stronger root systems — Soil roots are sturdier than water roots
- Less maintenance — No water changes needed
- Better for woody plants — Many woody species root poorly in water
Common Problems and Solutions
The cutting rotted
The soil was too wet. Use a lighter mix with more perlite and water less.
The cutting wilted
Humidity was too low. Keep the humidity tent on and mist with plain water more frequently.
No rooting after 6 weeks
The cutting may not have gotten enough warmth or light. Move to a warmer spot. Also ensure you applied Roots Down Propagation Gel to stimulate rooting.
Transitioning Out of the Humidity Tent
Once roots have established, gradually acclimate the new plant:
- Remove the tent for 1 hour the first day
- Increase by an hour each day over a week
- After 7 days, remove the tent entirely
- Continue regular care for the plant species
For ongoing nutrient support, use Mother's Mist during the establishment phase.
Ready to Get Started?
Soil propagation is incredibly rewarding. With Roots Down Propagation Gel and Roots Down Root Booster, you'll have everything you need for success. Explore our plant-specific guides for detailed instructions.