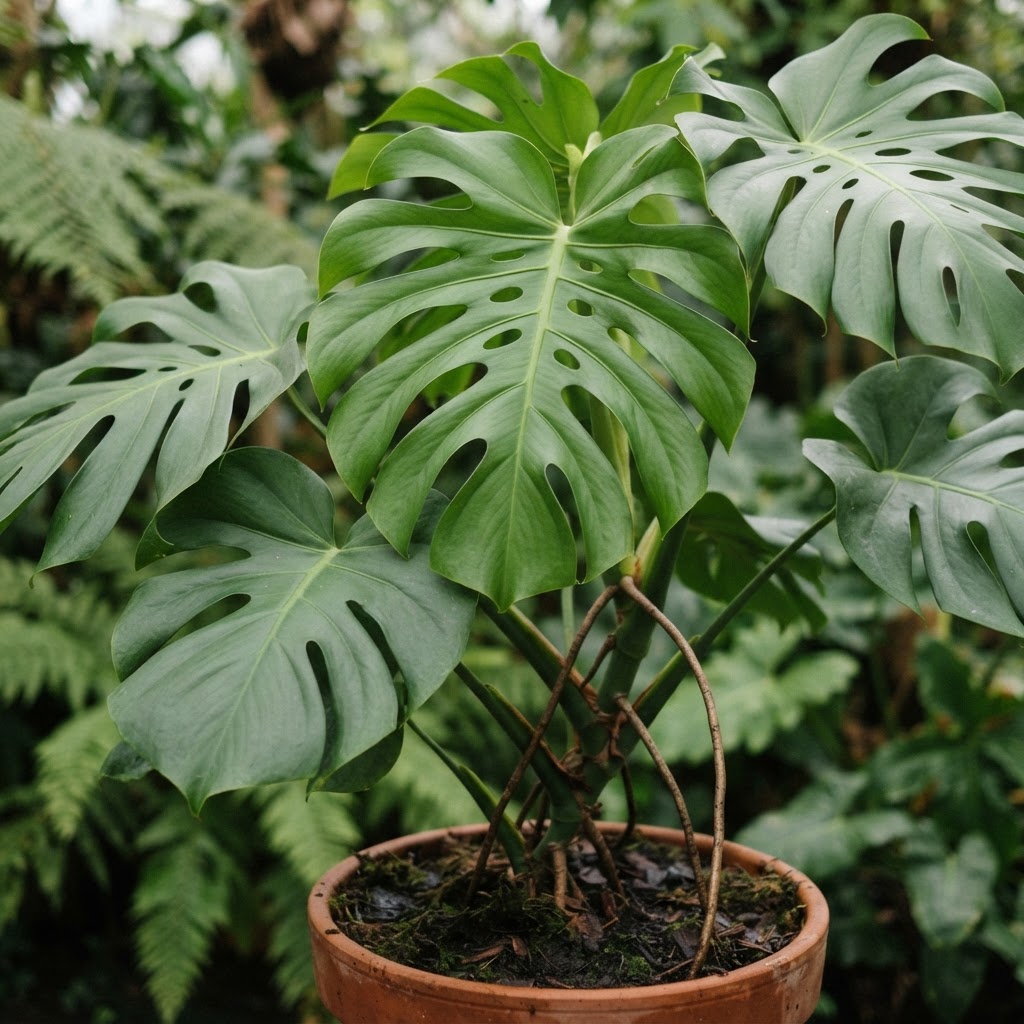
Learn how to propagate Monstera Deliciosa with proper node selection, aerial root handling, and the best rooting methods for this stunning tropical plant.
The Appeal of Monstera Propagation
Monstera Deliciosa, with its iconic split leaves, is one of the most sought-after houseplants. Propagating monstera allows you to multiply these stunning plants — and each cutting can become a statement piece.
Unlike pothos, monstera requires a bit more technique and patience, but the results are incredibly rewarding.
Understanding Monstera Nodes
Monstera stems have distinct segments separated by nodes. Each node appears as a small bump or ring on the stem and is where aerial roots and leaves emerge.
Key rule: Every cutting MUST include at least one node. Without a node, the cutting cannot root or grow.
What You'll Need
- A mature monstera plant with vines
- Clean, sharp pruning shears
- Roots Down Propagation Gel
- A large glass jar or vase
- Roots Down Root Booster
- Sphagnum moss (optional, for soil propagation)
- Well-draining potting mix
Step-by-Step: Propagating Monstera
Step 1: Choose the Right Cutting
Look for a stem section that includes:
- At least one node (ideally 2)
- An aerial root (the brown nub growing from the node)
- 1-2 healthy leaves
The ideal cutting is 4-6 inches long with a visible aerial root.
Step 2: Make the Cut
Using sharp, sterilized shears, cut below the node at a 45-degree angle. Make a clean cut — avoid crushing the stem.
Step 3: Prepare the Cutting
- Remove any leaves that would sit below the water line
- Trim the aerial root slightly if it's very long — this encourages new root growth
- Dip the cut end and aerial root into Roots Down Propagation Gel
Step 4: Choose Your Rooting Method
Water Propagation (Most Popular)
Place the cutting in a large jar of room-temperature water. Submerge the node and aerial root. Change the water every 3-5 days and mist leaves with plain water.
Soil Propagation
Plant directly in well-draining soil. Keep the soil consistently moist and cover with a humidity dome for 2-3 weeks.
Sphagnum Moss Method
Wrap the node in damp sphagnum moss inside a clear container. Keep the moss consistently moist. This method often produces the strongest roots.
Step 5: Maintain and Wait
- Light: Bright, indirect light
- Temperature: 70-85°F (21-29°C) — monsteras love warmth
- Humidity: 60% or higher — mist regularly with plain water
- Patience: Monstera roots in 3-6 weeks
Recognizing Successful Rooting
You'll see thick, white roots emerging from the aerial root and node. Wait until roots are 2-3 inches long before potting.
Potting Up Your Monstera
- Choose a pot with drainage holes
- Use a chunky, well-draining mix (potting soil + orchid bark + perlite)
- Plant the rooted cutting, burying the node
- Add a moss pole or trellis for support — monstera loves to climb
- Water thoroughly and place in bright, indirect light
- Support with Mother's Mist during establishment
Common Challenges
The aerial root rotted
The water wasn't changed often enough. Trim the rot and start fresh. Applying Roots Down Propagation Gel can help protect against rot.
The cutting isn't rooting after 4 weeks
Monsteras need warmth. Ensure the temperature is at least 75°F. Move to a warmer location and be patient.
Leaves are wilting
Not enough humidity. Increase humidity by misting with plain water and consider using a humidity dome.
Pro Tips
- Propagate in spring or summer for the best success rate
- Choose cuttings with aerial roots — they root much faster
- Use a moss pole — climbing monsteras develop larger, more fenestrated leaves
- Be patient — monstera takes longer than pothos but is worth the wait
Ready to Grow?
Get your Roots Down Propagation Gel and Roots Down Root Booster and start your monstera propagation journey today. Check out our water propagation guide for general techniques.